So you’re ready to dive into some data entry and get your Digital Misisons Display up and running, great! Here are the steps for accessing the Admin area of the missionsApp so you can update and access features and update missionaries. A subscription is required to receive updates and to use a few advanced features.
Start missionsApp #
To begin using the InTouch Missions Software on your Windows machine, start your computer. The software may either start automatically in Kiosk Mode or you may need to launch it manually.
If the software starts automatically in Kiosk Mode, switch users by pressing CTRL + Alt + Del. This will allow you to switch from Kiosk Mode to Admin mode. Once you have switched users, restart the missionsApp.
Once the map appears on the screen, press CTRL + a to open the hidden password field. You will need to enter the default password, which is “changeme”. This will grant you access to the missionsApp and allow you to begin using and editing its features.
Pro Tip: It is important to note that changing the default password is highly recommended for security purposes.
If You Are Using Trial Mode #
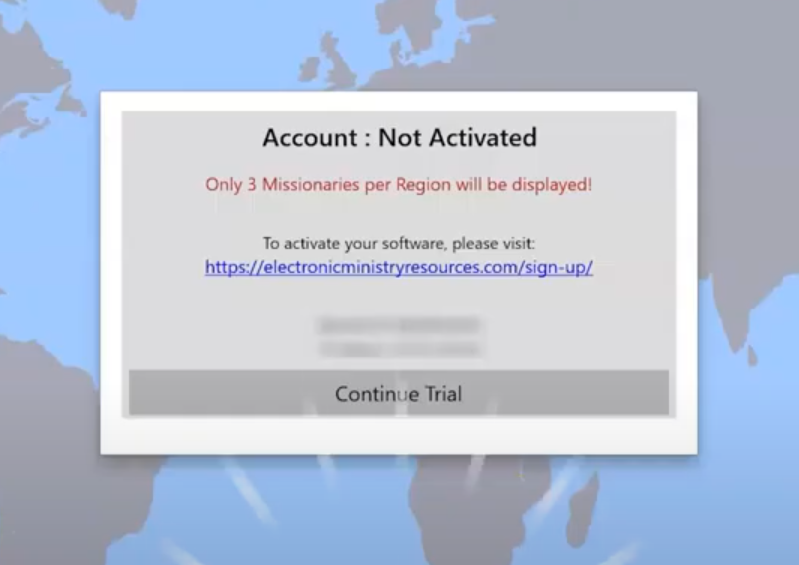
When using Trial Mode, the software displays a dialog box that asks to Register or Continue in Trial Mode. You can use the missionsApp for free for up to 3 missionaries per Region. Click Continue Trial if you see this dialog box:

NOTE: If you are not familiar with exiting Kiosk Mode and starting the missionsApp in Admin Mode, please refer to:
Settings – You Made It! #

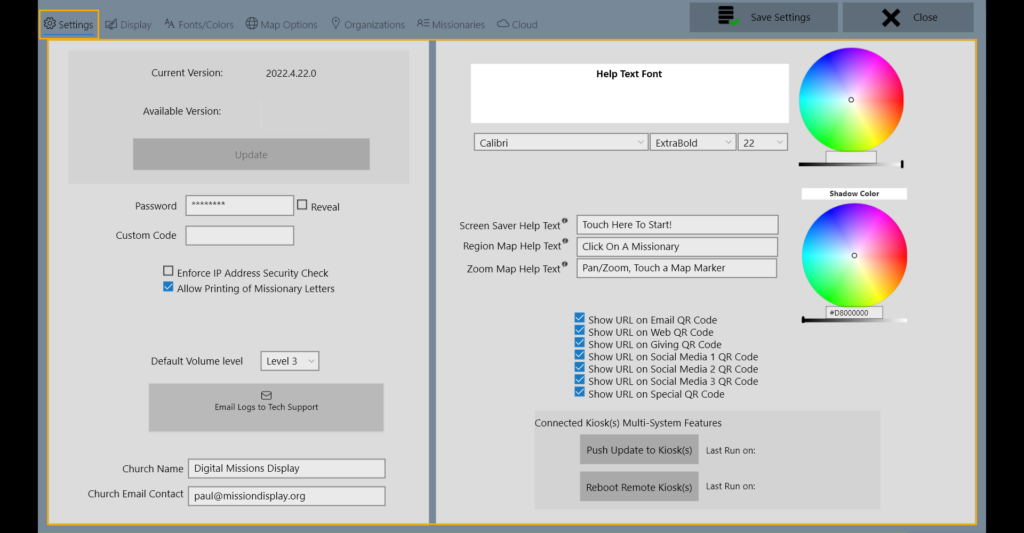
Once you are logged in to the Admin Area, you land on the Settings Page. For details on each page of the navigation, click the button below App Settings & Preferences.
Pro Tip: Change your password and secure it somewhere!

At the top of the screen, there are navigation links called Settings, Display, Fonts/Colors, Map Options, Organizations, Missionaries, and if you are a cloud customer, Cloud. The navigation bar at the top of the screen is used to move through the Admin Area of the missionsApp.


