How to Create an Account
Reading time: 1 Minute Read Time
Thinking
MissionaryConnect allows churches to create an account and begin managing their missionaries through the Digital Missions Display platform.
Follow the steps below to create your account.
Open your web browser and go to:
https://missionaryconnect.app/register
This page allows you to create a new MissionaryConnect account for your church.
On the registration page, complete the required fields. These typically include:
• Your name
• Email address
• Password
• Password confirmation
Make sure you use a valid email address since it will be used to manage your account.
After entering your information, click the Register button.
MissionaryConnect will create your account and begin setting up your church profile.
You will receive a verification email.
Check your email inbox.
Open the verification message from MissionaryConnect.
Click the verification link.
This confirms your account and activates your access.
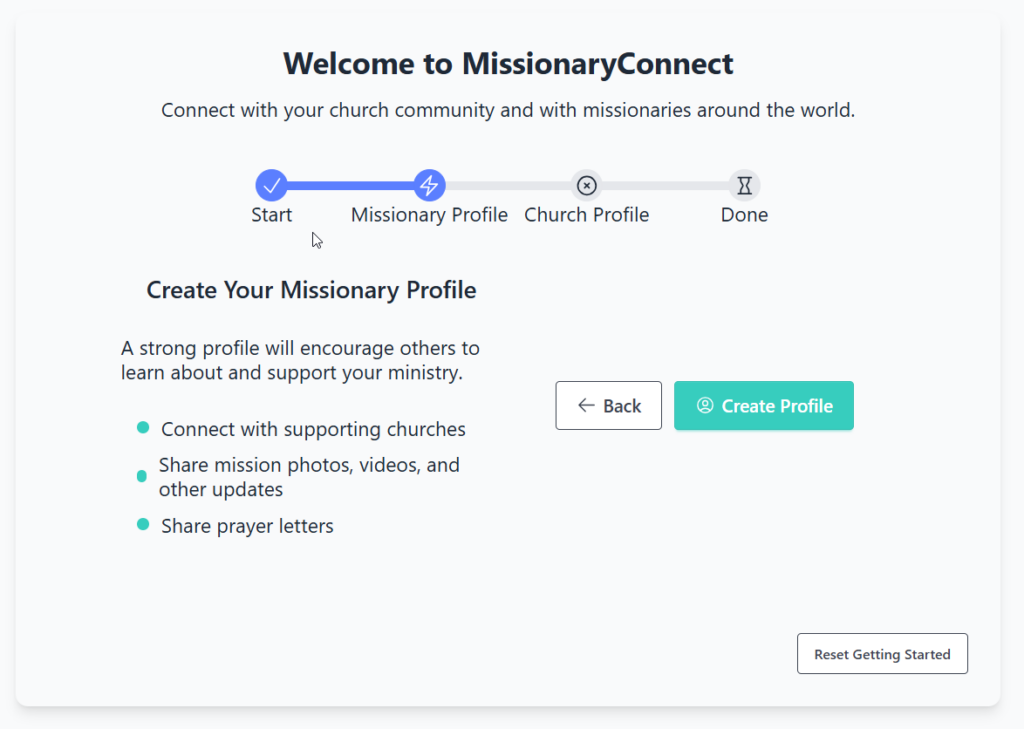
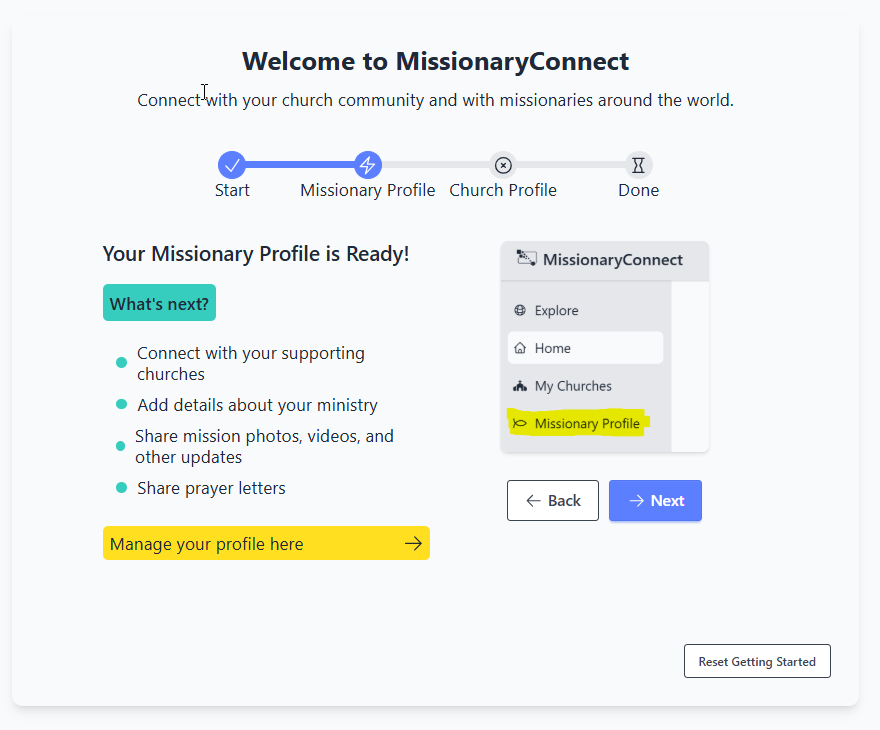
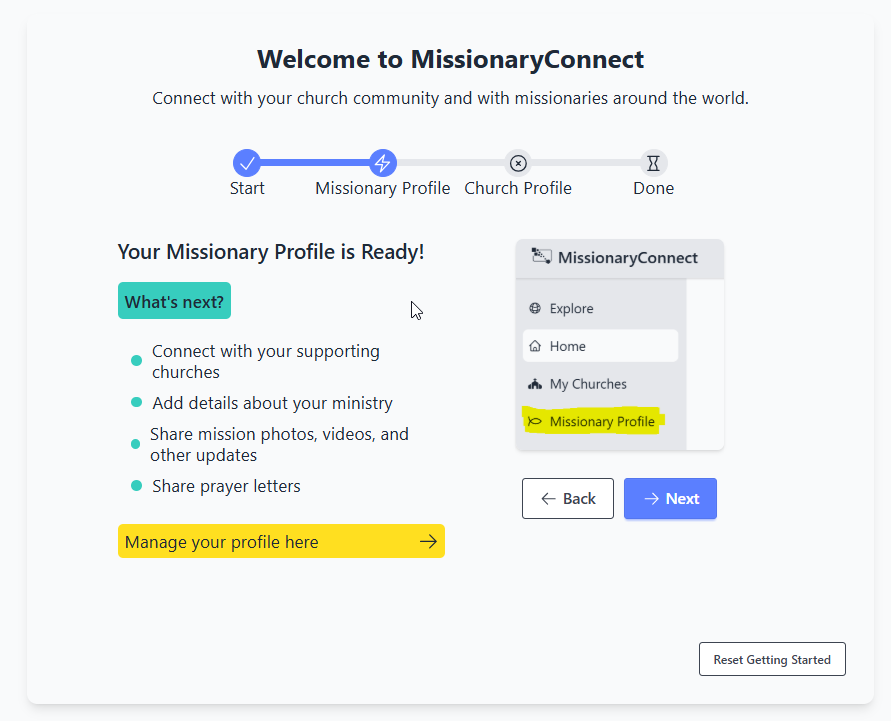
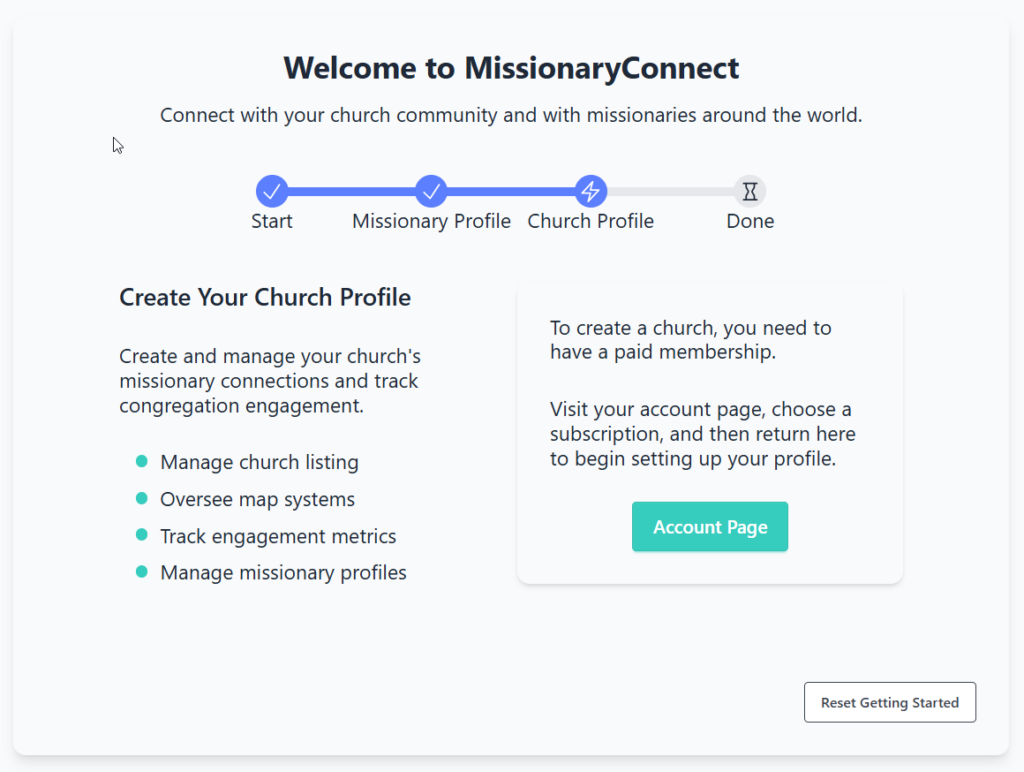
Once your account is created and verified, you will be able to log in and access your MissionaryConnect Admin Dashboard. Click on the User Icon at the bottom, select Account, and then look for Missionary Profile. Click to activate My Churches.
From there you can:
• Add missionaries
• Set missionary locations
• Upload photos and media
• Configure your map display
• Manage your church settings
If you experience any issues during registration, please contact support or consult the MissionaryConnect Knowledge Base for additional setup guides